Combat Basics for Kit PVP FFA
Cooldown, crits, shields, knockback, and survival tools that every kit shares.
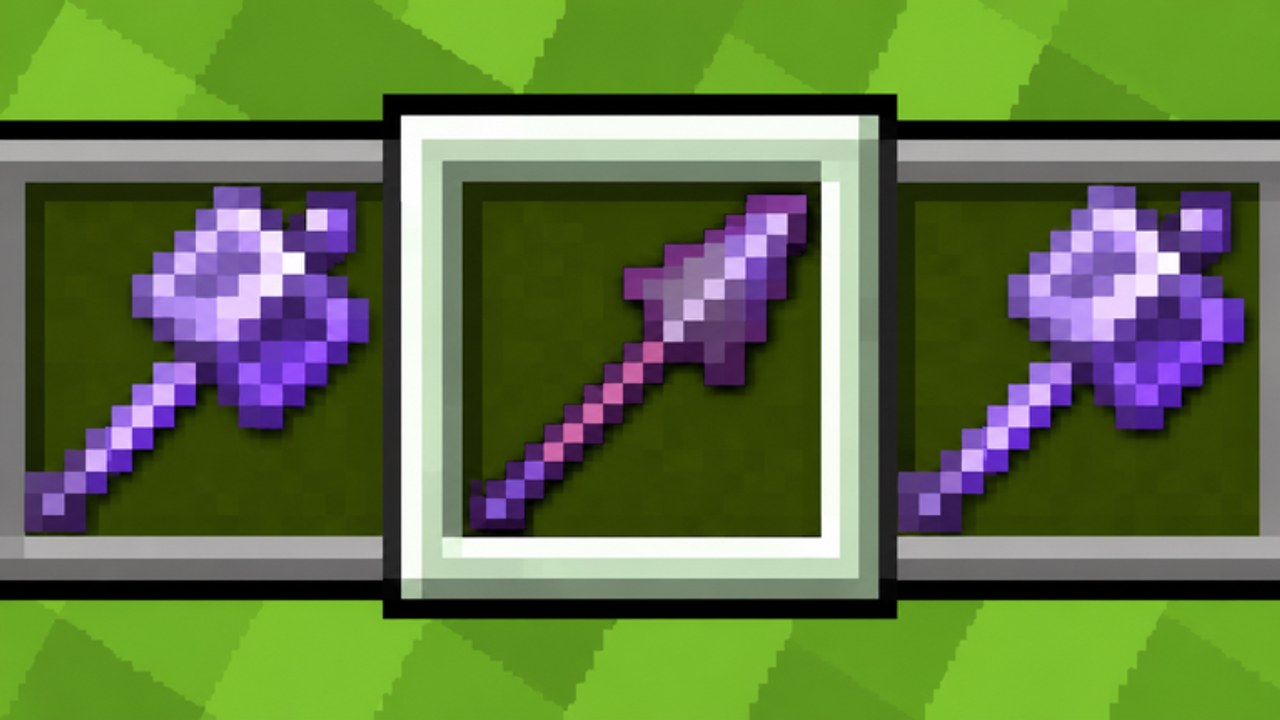
Every kit in Kit PVP FFA sits on the same combat foundation: attack cooldown, critical hits, sweeping attacks, shields, knockback, and armor. If you skip these rules, Sword feels weak, Mace feels random, crystals feel suicidal, and elytra dives feel like fancy deaths. This guide teaches the shared fight language so kit pages such as Mace PvP, Crystal PvP, and Elytra & Rockets make sense.
If you are brand new, skim Getting Started first, then return here for deliberate practice.
Attack cooldown timing
Modern combat punishes spam. Each swing has a recovery window. Hits near full readiness deal stronger, more reliable damage. Hits during recovery waste your turn and often lose the knockback war.
Train yourself to feel the rhythm instead of counting frames in your head. After a swing, move with purpose: strafe, close distance, raise a shield, or create a small gap. When the next swing is ready, commit. In FFA, empty swings are especially bad because a third player can punish the downtime.
A useful drill is to fight one target while intentionally waiting for ready swings only. Ignore kill hunger for ten lives. Your goal is clean timing, not a highlight reel. Once the rhythm sticks, you can add crits and kit tech on top.
Critical hits
Critical hits reward good timing and movement. In practice, that means connecting when your character state supports a crit instead of swinging while grounded in a panic. Crits are how smaller openings become decisive, especially with Sword and during Mace smash setups.
Do not jump-crit into every trade blindly. Predictable jump patterns are easy to shield, bow, or crystal. Mix grounded pressure with occasional crit windows. If you miss, recover with shield or space instead of swinging again immediately on a dead cooldown.
Against multiple enemies, a single well-timed crit on the lowest target can create a kill that collapses the crowd. Against one strong opponent, crits are tempo tools: they force eats, totem pops, or retreats.
Sweeping attacks
Sweeping helps when targets cluster. FFA naturally creates piles around bounties, bridges, and crystal corners. A sweeping swing can chip or disrupt more than one body in a tight group, which matters when you cannot afford a long duel.
Use sweeping when enemies stack on the same block line or funnel through a bridge. Do not expect sweeping to replace focused damage on a priority target. Identify who is already weak, land your best hit there, and only value the splash as bonus disruption.
Shield use
Shields blunt incoming damage and buy decision time. Raise the shield when you expect a heavy hit, a dive, or a crystal pop nearby. Lower it to swing, eat, pearl, or reposition. Holding shield forever loses the fight because you stop dealing damage and become easy to flank.
Good shield habits in FFA:
- Block the committed hit, then release to counter.
- Angle so you are not open to a second attacker on your side.
- Do not tunnel on one duelist while a third player charges an explosive angle.
- Combine shield with small backsteps so knockback does not pin you in a corner.
Axes and certain kit pressure patterns exist to break or punish turtle play. If someone waits on shield forever, reposition, bow chip, or force a move with explosives and height rather than staring at the shield.
Knockback trading
Knockback decides who owns space. Landing a hit that sends the opponent off a bridge, out of crystal range, or into void-adjacent danger is often better than raw damage. Likewise, eating a hit that launches you into a crowd is often a death sentence even if your health bar looked fine.
Trade with intention. If you win knockback, follow only when you still have cooldown advantage and an escape. If you lose knockback, use the forced distance to eat a golden apple, swap to a defensive tool, or break line of sight. On reset-heavy maps, knockback into unstable builds can finish fights that damage alone would not.
Golden apples and totems
Golden apples are active recovery. Eat when you have a moment of space, not while standing still in the open during a dive. Totems are panic insurance. They save a life, but they do not fix bad habits. After a totem pop, leave the hotspot, re-kit your plan, and re-enter on your terms.
Resource rules of thumb:
- Apple when you can finish a winning fight or survive a reset scramble.
- Save totems for unavoidable burst, crystal mistakes, or multi-tag piles.
- Do not waste both tools because you refused to disengage.
- Track how often you pop early; that pattern usually means your entry angle is wrong.
Third-person F5 tips
On PC, F5 third person widens your view of dives, crystal placements, and flankers. Use it when you need spatial awareness more than precise crosshair feel. Switch back when you need tighter aim for bows, spears, or precise block placement.
Third person helps you:
- See an elytra player lining up above you.
- Notice a second fighter bridging into your duel.
- Judge landing spots after a mace smash or rocket boost.
It can hurt you if the camera makes aim floaty. Practice both views in low-pressure moments so the swap is intentional. More device notes live in Controls.
Mobile and controller notes
Phone players should prioritize large, stable movement inputs and avoid burying attack timing under too many UI taps. Keep healing and shield actions reachable. Controller players should confirm that block, attack, hotbar, and camera controls feel natural before fighting in the densest zones. Rebind early; mid-fight rebinds create panic deaths.
All platforms share the same advice: fewer inputs, better timing. A calm ready swing beats a frantic button mash.
Putting it together in FFA
A clean FFA fight looks like this. You approach with purpose, take a ready swing, evaluate knockback, shield the punish, and decide whether to finish, eat, or leave before a third party arrives. The five-minute map reset adds a clock. Do not start a long turtle war at minute four unless you accept the wipe.
After combat basics feel natural, pick a direction:
- Starter path and rewards: Getting Started
- Vertical smash: Mace PvP
- Explosives: Crystal PvP
- Flight: Elytra & Rockets
- Meta priority: Tier List Hub and kit rankings
- Roster context: Players hub
Practice one concept per short session. Cooldown for ten lives. Shield for ten lives. Knockback exits for ten lives. That structure builds the consistency the tier list values more than any single flashy clip.
Frequently Asked Questions
Quick answers to the most common Kit PVP FFA questions.
Why does spam clicking feel weak in Kit PVP FFA?
Attacks use a cooldown. Swings before you are ready deal worse results and lose knockback control against players who wait for clean hits.
When should I use a shield?
Raise it for committed heavy hits, dives, and nearby burst, then lower it to counter, eat, or reposition. Permanent turtling loses to flanks.
Are golden apples better than totems?
They do different jobs. Apples are active recovery in space. Totems are emergency saves. Good players use both and still disengage when outnumbered.
Should I always play in F5 third person?
No. Use F5 for awareness around dives and flanks, then switch back when you need tighter aim or placement precision.
Does every kit follow these rules?
Yes. Kit tech changes tools and angles, but cooldown, crits, shields, knockback, and survival items remain the shared foundation.